Category
I've been spending a lot of my spare time with RemObjects products (mostly Oxygene and Hydra) over the last several months and haven't kept up my blog on those subjects like I intended. But another distraction is taking an increasing interest as more of a fun hobby than a dire need that will make me money.
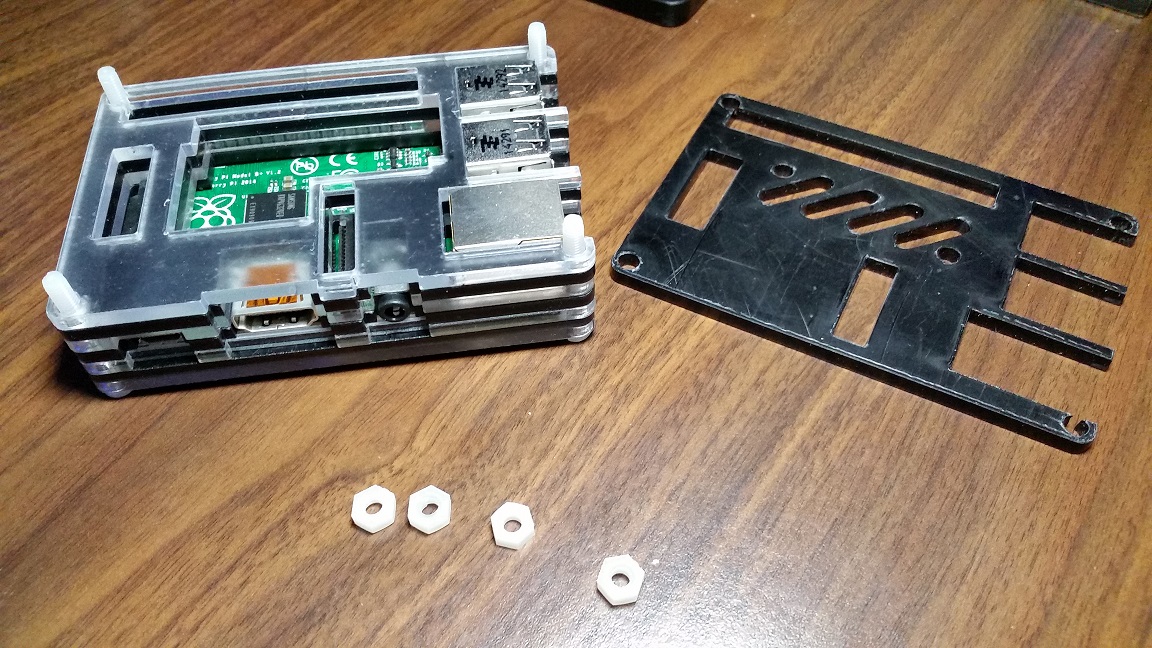
I got a Raspberry Pi.
Actually, this is a picture of my second Raspberry Pi and there are two more on the way.
Now, I probably don't have to explain what this is to most readers, but just in case someone doesn't know, these are small, inexpensive single-board, system-on-a-chip computers that are designed to be easy to connect to a wide variety of devices, sensors, and controllers. They're great fun to tinker with, learn on, and experiment with--and there are many, many web sites with instructions to build everything from a Lego robot to a home surveillance system to a multi-node, password-hacking super computer array!
My interests are fairly modest: I simply want to have a remote camera to watch the front porch from my back-of-the-house office. Oh, and it would be cool to set next year's Christmas lights to music. And I might setup a torrent server. And maybe a voice-activated office lighting controller. And... My family might never see again.
I will likely blog some of what I do but one of the first things I want to write down so I don't forget is actually a fix for an annoyance in Linux. The Raspberry Pi computers run Linux, of course, and every Linux distribution I've tried comes setup to blank the screen after a bit. Now this is good if you have a computer that you walk away from and forget to shut down or something, but the projects I have slated would either not have a screen attached at all or would need to have a small screen that is always on. So the first thing I had to figure out was how to disable the screen saver. This turned out to be surprisingly difficult to get right.
There are two parts: 1) the command-line, and 2) the graphical user interface. Everything in Linux can be customized and different from one system to another, so whatever I write here must include the disclaimer that it may be different on your system. If you install Raspbian, a popular distribution for Linux on Raspberry Pi, then the following should work for you. In any case, the main reason for me documenting it here is so that I will remember how to set it up on subsequent installs!
First the command line. This, more than anything, should be standard for every Linux system that runs the Bash command line shell (and should be simple to adjust to a different one). The system-wide start file, /etc/bash.bashrc, is where you want to add one line:
setterm -blank 0 -powerdown 0
This will 1) set the time interval to blank the screen (-blank) to zero which will disable it, and 2) keep the monitor from powering down (-powerdown). You may also need to use -powersave, but these two have worked for me on a couple of monitors.
Next, the graphical user interface (GUI) where you have friendly icons and can use the mouse has its own screen saver, separate from the command-line terminal. The GUI environment on Linux is called X and there are quite a variety of settings. On top of that, you have the desktop window environment. Since Raspbian comes default with LXDE, I'll mention only this one. The start-up file for LXDE is:
/etc/xdg/lxsession/LXDE/autostart.
There are two things to do: 1) disable the screen saver, and 2) disable the EnergyStar features.
The first part seems easy enough, simply comment out the line that starts the screen saver (you can just as well delete it if you want; I keep it there to remind me what it had been if I ever decide I want to turn it back on):
; @xscreensaver
This, you might think, should be enough to disable the screen saver. And, well, it does. However, the X11 system has additional built-in screen-saver capabilities, so you need to do a couple of extra steps:
@xset s noblank
@xset s off
Finally, disable EnergyStar features of your monitor so it won't go into a power-save mode even though your screen saver is off:
@xset -dpms
There are numerous forums and blogs all over the internet with various ways to do this and indeed they work for those situations. After trying several, I settled on the steps above and wrote them down so that it will save me time looking them up.
Hopefully, it helps you as well!
